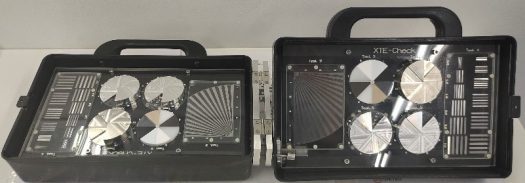
XTE™ Check


XTE™ Check
FEATURES & TECHNICAL SPECIFICATIONS
- Suitable for X-Ray scanners single or dual view scanners tunnel size less than 1mx1m
Universal Test Platform
Independent 3rd Party
One Pass Dual View
Rotatable mechanism
Automated Evaluation
Designed for both Single and Dual View (One Pass)

ASTM F792-17 e1
- Scope 1.1
…… Applies to aperture up to 1mx1m…..
- Scope 1.4.1 RTO, Routine Test Object
Routine and Periodic Verification
- Scope 1.4.2 HP, Human Perception & Performance Parameters
Standardised process for subjective test
- Scope 1.4.3 OE, Objective Evaluation
Methods of Evaluation using RTO
Benefits for Government and 3rd Party Vendor
- Factory Acceptance
- Site Acceptance
- Quality of Assurance of Performance over time
- 3rd Party Testing
- Qualifications – ROI
- Post Qualification Testing – Objective testing
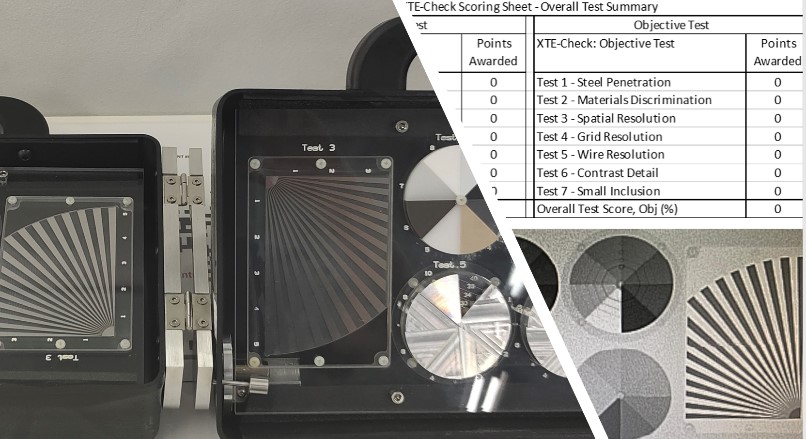
7 Comprehensive Test
- Test 1 Penetration Test
Penetration test of steel step wedge ranging from 26mm t0 40mm thickness
- Test 2 Material Discrimination
8 different Zeff materials are tested in air, 1mm and 2mm of steel
- Test 3 Spatial Resolution
The ability of image system to differentiate between 2 nearby objects. Propriety “crows foot phantom” is used. Typical thickness ranges from 0.5mm to 2mm
- Test 4 Grid Resolution
Testing of resolution on both vertical and horizontal axis from 0.5mm to 2.0mm
- Test 5 Wire Resolution
Measuring from 30AWG over varying wire thickness with 40AWG being the thinnest in air and behind concealment
- Test 6 Contrast Detail
Contrast is the measure of density difference between 2 areas. To measure contrast detail provides a measure of the ability to detect both low contrast and small features simultaneously.
- Test 7 Inclusion Test
This test is designed to test the visibility of small inclusions within the X-ray image


